4. Setup
In this chapter we will discuss initial setup, basic configurations and some security best practices; also, we will talk about protecting VAC itself.
4.1 Authentication
By default, access as Administrators to VAC is configured and allowed to the Local Administrator of the Windows machine where VAC service has been installed. It’s heavily suggested to modify this behaviour, and leverage dedicated groups to control VAC.
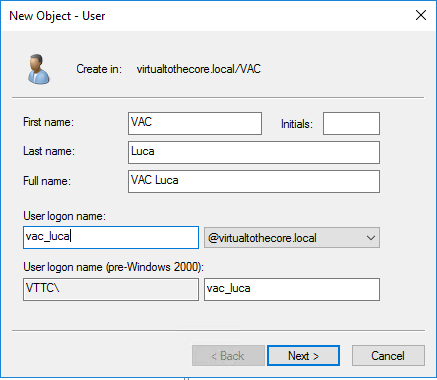
First, we create a new VAC Admins group in Active Directory. Then, we create a personal User account for each Administrator that will need access to VAC:
Then, inside VAC we first login using the local Windows Administrator, and we edit the section of the Configuration Roles and Users:
-
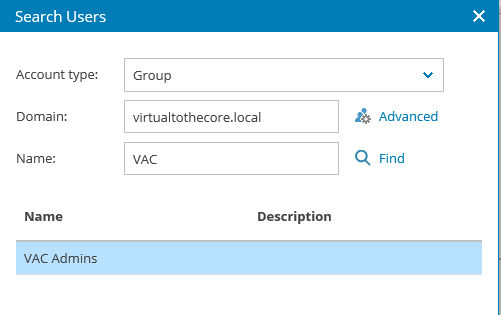
we add a new Administrator group by selecting the VAC Admins as the Authentication source:
 ;
; -
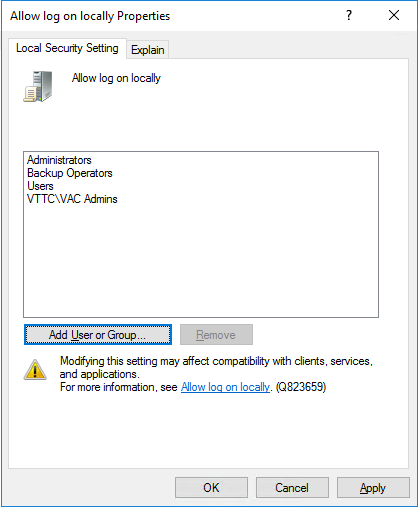
In the Local Security Policy of the VAC Server, we add VAC Admins group to the policy Allow log on locally:
-
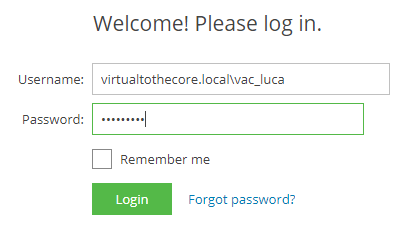
we are finally able to login using the DOMAIN\USER format, using the DNS style of the domain, like in the example below:
4.2 SSL Certificates
We created a dedicate chapter to give you some powerful options to automatically manage SSL certificates and their renewal. Have a look at Chapter 8; in the rest of the document, we will assume that a proper certificate has been installed.
4.3 Backup and Restore
All the data and configuration information are stored into the SQL database, so this is the main component that we need to protect. To do so, there are multiple options, like for example SQL Maintenance Plans:
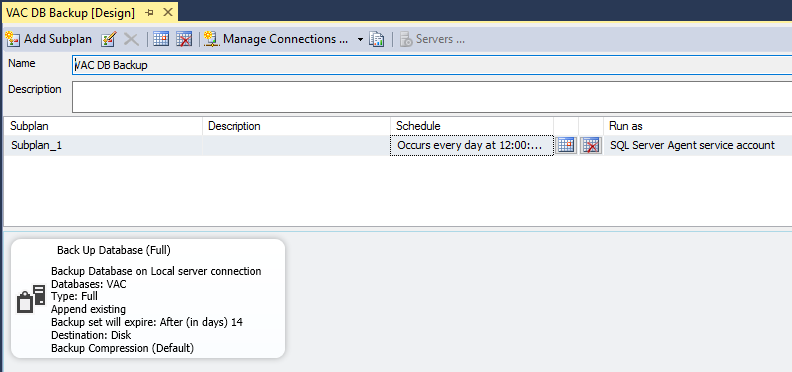
The final result is a SQL backup stored on a filesystem:

With these backups, admninistrators can restore a VAC database, and then using the procedure explained in chapter 9, proceed to reconnect VAC service to the database.