10. Automatic deployment of VAC agents
In the default installation process of the VAC agent, the management agent doesn’t ask for any configuration during the installation process. The three information needed to connect back to VAC (DNS name of the VAC system, username and password) are asked when the agent is first configured. But this could be both a difficult task for basic users, and cumbersome (and error prone) even for IT people.
Imagine when you are onboarding a new customer, that has only individual computers not connected to any Windows domain: you have no option to use GPO rules or discovery methods, and you need to send to each user the package and ask to install it. you have a high risk that users will ask for assistance during the configuration phase. On large installations, this problem can grow exponentially.
for all these reasons, it’s better to create a fully automated installation.
NOTE: part of these instructions are available in the VAC official guide. As they are designed more for distribution via GPO, I’ve adapted and extended them.
10.2 Create the unattended install
There are two ways to pass configuration parameters to the VAC Agent installer: via MST transform files, or using the command line. For our needs, we will use the latter. The former can still be a nice choice if we also want to customize the MSI package, for example to create custom packages for a service provider with a different logo, text and so on.
First, we need to obtain the VAC agent. It can be grabbed directly from the VAC web interface, but it’s even better to go into the filesystem of VAC server at C:\Program Files\Veeam\Availability Console\ApplicationServer\AgentPackage where we can find the two versions of the installer, for x86 and x64 systems.
Be careful if there’s a Upgrade folder, in that case go there and pick the version that’s there, it may be a newer version of the agent.
Together with the MSI file, we need a BAT file that will execute a command line. The string we need to use at a minimum needs to have these parameters:
msiexec.exe /qn /i VAC.CommunicationAgent.x64.msi ACCEPT_THIRDPARTY_LICENSES=”1″ ACCEPT_EULA=”1″ VAC_TENANT=”company\tenant” VAC_TENANT_PASSWORD=”tenant_account_password” CC_GATEWAY=”cloud_gateway_address”
A few notes here:
-
I’m aware that there’s a password in cleat text in this batch; we will fix this issue later.
-
The official guide also suggest to add VAC_CERT_THUMBPRINT, that is the thumbprint of the certificate that is installed on the Veeam Availability Console server, and used to secure traffic between the service provider and clients. This property is optional and I actually suggest to NOT use it: especially if you use solutions like Let’s Encrypt where the certificates are refresh frequently, the only outcome is that we will have to recreate the configuration file every time.
-
Even if VAC allows to have different users and roles, what we need here is a username that can authenticate via the underlying Cloud Connect. So, ignore any VAC user they you may have, we need to configure here the Company Owner (the tenant in VCC) or a sub-tenant.
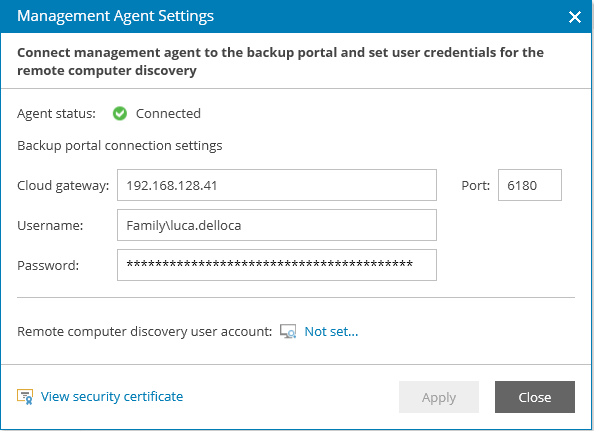
Let’s focus first on the command line. We place it in the same folder where we extracted the MSI file, we copy it into the test computer, and we run it by simply double-clicking it. After a few seconds, the VAC Agent icon appears in the tray icon, and if all it’s correct, we should have the agent correctly connected to VAC:
[ ]
]
Forgetting for a moment any security concern about the passwords, users would already be able to run the bat file and the installation would complete automatically, and we will have our computers registered into VAC:
[ ]
]
10.3 Securing the installation
As we said before, this method has a security issue: anyone can open the BAT file and see username and password of the credentials that can access VAC. We can fix this problem.
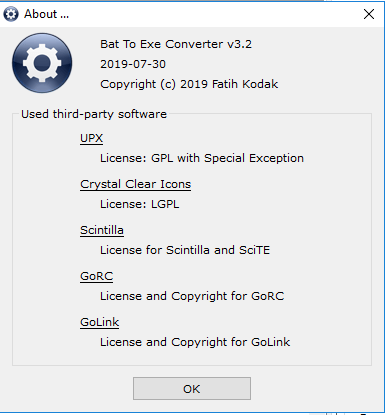
We can compile the BAT file into an EXE file; this is not absolute security by any mean, and many tools can still open the file, but for many scenario, it’s an acceptable level of security. For my needs, I found a tool called Bat to EXE Converter:
[ ]
]
Once we open the software, we can load our BAT file that we created before, and also edit some of the properties that the EXE file will have:
[ ]
]
Together with the BAT command in fact, we can also configure the EXE format, the extraction target, and even things like a custom icon and Version information. Once we are fine with the options we selected, we hit the command Convert to obtain our EXE file. Now we have the small EXE and the Veeam MSI package.
Then, instead of sending both files to the user, we can package them into a Self-Extracting EXE file. To do so, I used this blog post, for which I say thanks to his author. These are the needed steps:
- create a c:\install folder for simplicity
- select the VAC msi and the newly created EXE file, right click and choose 7-Zip -> Add to Archive, giving it a name like vac_install.tz
- copy installer.tz into the c:\install folder
- download and extract the extra archive, find 7zS.sfx and copy it to c:\Install
- create a new config.txt file in the Install directory using Notepad++, encode it using UTF-8 and put in it a text like this:
;!@Install@!UTF-8!Title=”Veeam Management Agent Installer”
BeginPrompt=”Do you want to install Veeam Management Agent?”
RunProgram=”vac_install.exe”
;!@InstallEnd@!
- open the install folder with CMD and run:
copy /b 7zS.sfx + config.txt + vac_install.7z VAC_Installer.exe
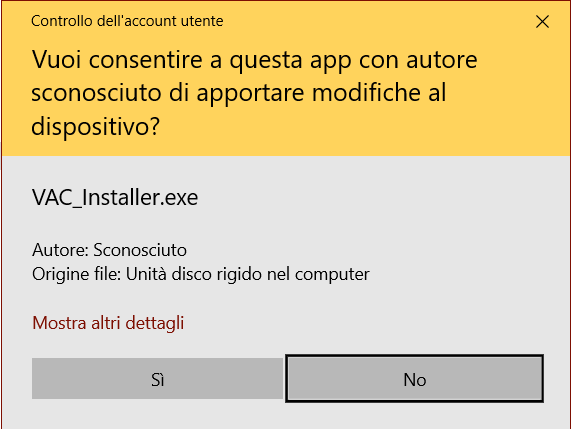
The final executable is created. When we executed it, Windows will give you a security warning (the test computer I’ve used is configured with Italian language). This warning is expected since my newly created program is not digitally signed:
[ ]
]
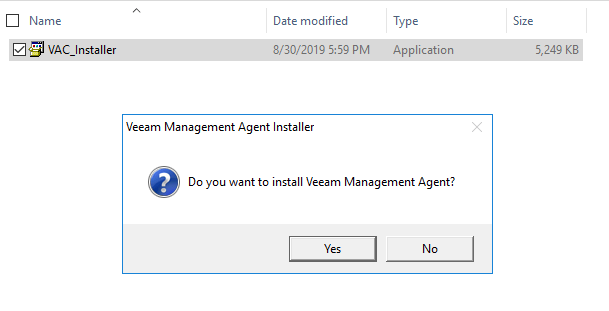
By hitting Yes (Sì), we get the message that we configured in the configuration file:
[ ]
]
Hitting Yes again, the software is silently installed, and the VAC icon appears in the tray icon of the remote computer. At first the icon shows a warning sign, this is expected and it lasts a few seconds, the time it takes for the first connection to VAC to be completed.
We can now distribute the self-installer to all the computers we may want to add to our console.
A final Note: if VAC is using a self-signed certificate, the agent will install but it will be in an error state until the user will manually accept the certificate. It’s better to use properly signed certificate, like explained in chapter 8. SSL management.